")
")
")
")
")
Add a touch of elegance to your projects with these Gold Sealing Wax Bars! This set of 4 bars is perfect for use with your Low Temperature Sealing Wax Gun, making it easy to create smooth, flawless seals for envelopes, cards, scrapbooks, or even gifts. Whether you’re sealing invitations, creating personalized stationery, or just adding a unique touch to your crafts, these gold bars will give you that rich, luxurious finish every time.
Did you know that sealing wax has been around for centuries? It was originally used by royalty and the wealthy to secure important documents and show off their personal seals. Today, it’s still a fun and creative way to add a personal touch to your projects.
Here are a few cool ideas on how to use your gold sealing wax bars:
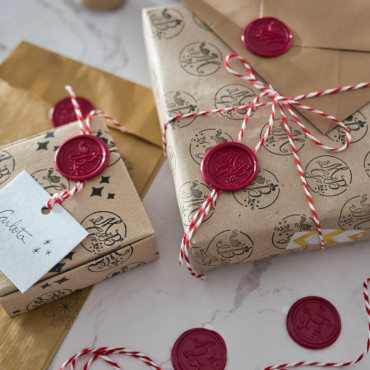
- Seal envelopes for a wedding or event invite with a custom wax stamp.
- Add a golden touch to your scrapbooking pages or journals.
- Use it to create fun gift tags or party favors—your guests will love the thoughtful detail!
- Make your own DIY wax seals for cards or letters to make your stationery stand out.
Gold is timeless, and with these sealing wax bars, you can bring a little bit of that classic charm into your modern crafting. Plus, it’s a fun and easy way to step up your creativity game—whether you’re a beginner or a pro.
Each wax bar can create approximately 20-25 seals, depending on the size and amount of wax you use. It's a good idea to do a quick test to find the perfect amount for your ideal seal. Applying more wax will create a larger bead on the surface for a bolder look.
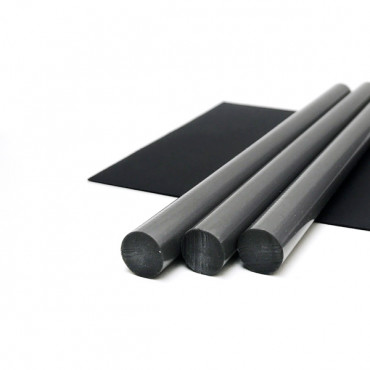
FEATURES
Gold sealing wax bars (4 units)
- Colour: Gold
- Units: 4
- Bar length: 17,5 cm / 6.9 inches
- Width: 1,2 cm / 0.5 inches
APPLICATION
To use these sealing wax bars you need the sealing wax gun suitable for the diameter, which you will also find in our store.
Each pack of 4 bars is enough for approximately 80-100 sealing applications. It depends on the size of the sealing wax stamp and the amount of sealing wax you use.
WHAT DO I NEED?
- Wax seal stamp
- Wax sticks
- Hot glue gun
- Ice
- Cloth or fabric napkin
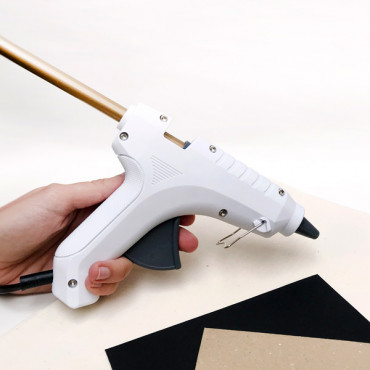
HOW DO I USE A WAX SEAL STAMP?
1. Cool the stamp with ice. You can place it directly on the ice. This keeps the stamp from getting too hot during use.
2. Plug in the glue gun and let it heat up for a few seconds. Insert the wax stick.
3. Apply the wax where you want it. Press the trigger so the wax melts and flows through the nozzle.
4. Dry the stamp with the cloth so no water drops mark the wax. Place the stamp onto the wax for about 30 seconds, or until the wax has cooled.
5. Gently lift the stamp.
* You’ll need a bit less wax than the diameter of your stamp, usually one pull of the trigger. Do a few test runs on cardboard to find the perfect amount and shape (with or without a visible border).
VARIATION: STAMPING WITH INK
- You can ink your stamp before pressing it into the wax for a reverse effect.
- Once the wax is fully cooled, you can highlight the design with ink or a marker.
SEALING STRING OR TWIGS
To seal over string or small branches, apply the wax directly over them.
- Place the string or twig on the surface you want to seal, and follow the steps above.
GOOD TO KNOW
- We use wax sticks with a hot glue gun, but you can also use wax pellets or other types. The wax type isn’t critical!
- We recommend using one glue gun per wax color. Once melted, the wax clings to the inside walls of the gun—so if you change colors, they’ll mix.
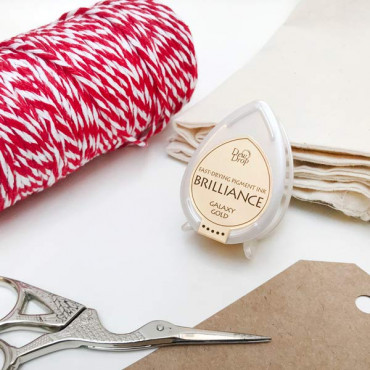
Add a celestial sparkle to your creative projects with the Brilliance Galaxy Gold Mini Ink Pad! This dreamy, drop-shaped ink pad is perfect for adding a rich, metallic gold shimmer to paper, cards, and more. Whether you're crafting custom wedding invitations, designing elegant Christmas cards, or giving your scrapbook pages a touch of glam, this compact...
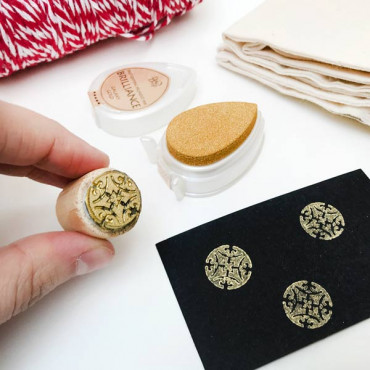
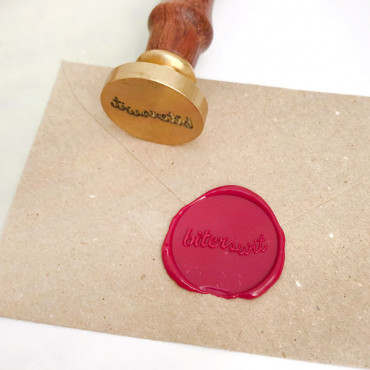
Enhance your packages, letters, boxes, and envelopes with our custom wax seal with your logo or design. The seal has a 2,5 cm / 1 inch diameter. This engraved metal seal is perfect for personalizing your packages, envelopes, and for sealing boxes with string. We’ve tested it on cardboard, paper, cork, and glass, and it performs beautifully on all...
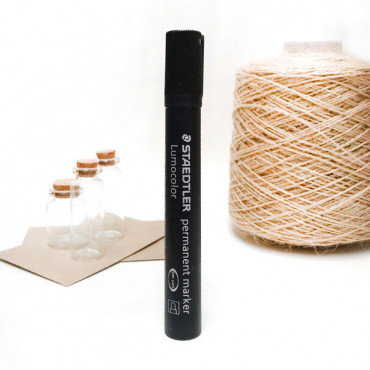
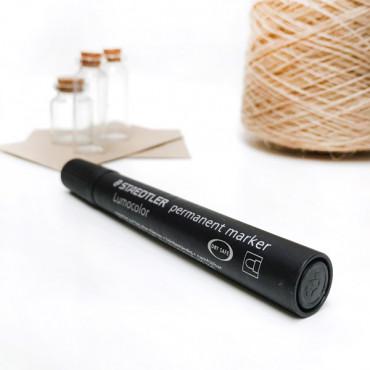
Meet your new go-to marker for all things bold, sleek, and permanent! The Staedtler Lumocolor Permanent Black Marker is here to make a statement—literally. With its smooth ink flow and quick-drying formula, this trusty tool is perfect for everything from labeling storage bins to crafting eye-catching art pieces. Its fine tip ensures precision, while the...
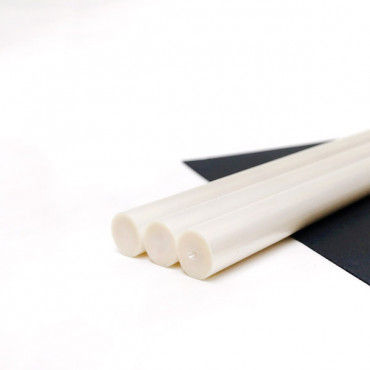
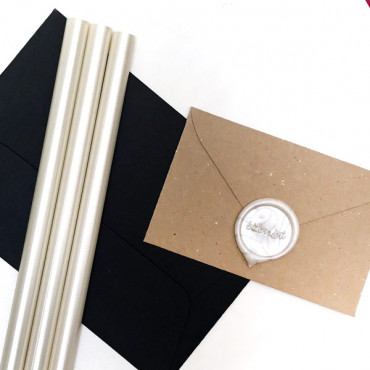
Seal it with style! These ivory white sealing wax bars are the perfect match for your low-temperature sealing wax gun, making it easier than ever to add a touch of elegance to your letters, invitations, and crafts. The creamy white hue adds a classic vibe, ideal for weddings, vintage-style projects, or just to show off your fancy side. Each pack includes...
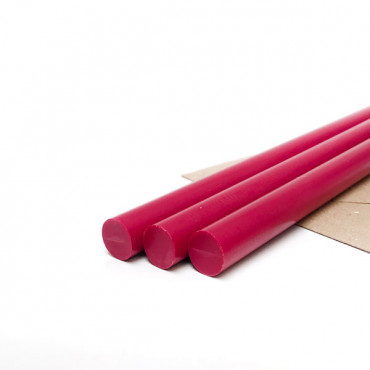
These red sealing wax bars (4 units) are perfect for adding a personal touch to your stationery, envelopes, or scrapbooking projects. Easy to use with a Low Temperature Sealing Wax Gun, these bars melt quickly, allowing you to create beautiful, smooth seals in no time. Whether you're sealing a letter or customizing a gift tag, the rich, vibrant red color...
Add a touch of elegance to your crafts with these Silver Sealing Wax Bars! This set includes four bars of silver sealing wax, perfect for use with your Low Temperature Sealing Wax Gun. Whether you're sealing envelopes, decorating scrapbooks, or creating unique gift tags, these wax bars are a must-have for anyone who loves to craft with a bit of style....
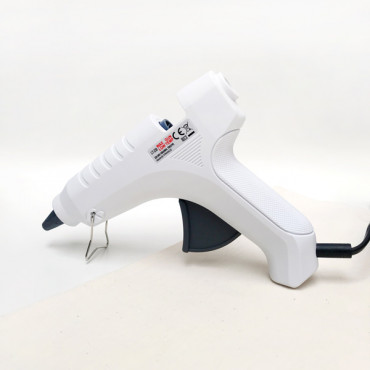
Add a touch of elegance to your crafting projects with this Low Temperature Sealing Wax Gun! Perfectly designed for use with 12mm (0.47 inches) sealing wax bars, it’s the ultimate tool for creating beautiful, professional-looking seals without the mess or hassle. Whether you're into scrapbooking, letter writing, or just love DIY projects, this handy...
Add a royal touch to your Christmas gifts and letters with this complete pack of 20 self-adhesive wax seals featuring the official seals of the Three Wise Men. Each pack includes: 5 self adhesive wax seals of King Gaspar, 5 self adhesive wax seals of King Melchior, 5 self adhesive wax seals of King Balthazar and 5 self adhesive wax seals with the initials...
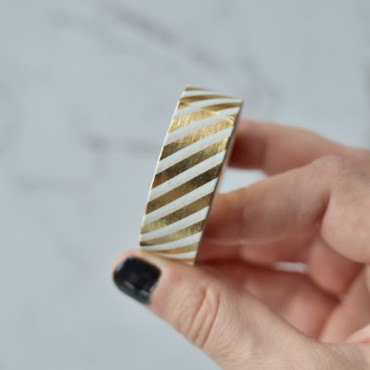
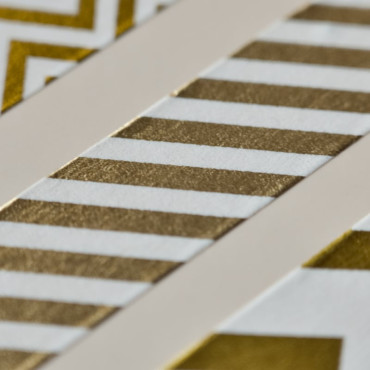
Looking for a touch of shimmer in your projects? Check out our Washi Tape Gold and White Stripes! This decorative paper tape features alternating gold and white stripes, with a shiny gold foil finish that catches the light just right. It’s simple, elegant, and versatile – perfect for adding a bit of sparkle to all sorts of projects. Whether you're...