


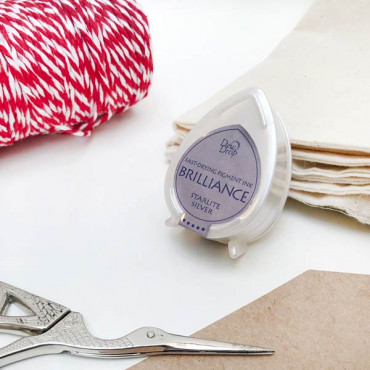
Meet your new favorite crafting essential: the Brilliance Starlite Silver Ink Pad! Perfect for paper projects, this dazzling ink pad adds a touch of shimmering elegance to your scrapbooking, card-making, or journaling adventures. Designed for smooth application and long-lasting shine, it’s the perfect way to make your creations pop with a silver starlight glow. Whether you're stamping intricate designs or adding highlights to your artwork, this ink pad delivers a professional finish every time.
How to Use It
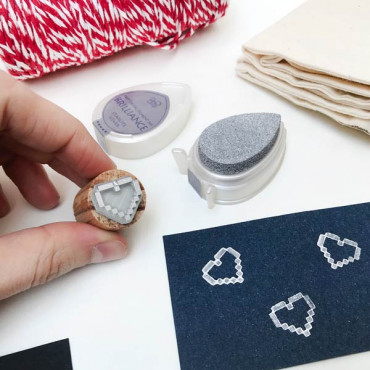
1. Stamp it up: Use the Brilliance Starlite Silver Ink Pad with your favorite stamps to create borders, patterns, or even custom designs. The silver shimmer stands out beautifully on dark and light papers alike, making it versatile for any theme.
2. Brush-on accents: Dab a small sponge or brush into the ink and add subtle highlights or metallic effects to edges, shapes, or hand-drawn lettering.
3. Layer and blend: Experiment with layering the silver over other colors for a magical, iridescent effect. It’s especially striking when combined with jewel tones or deep blues for a galaxy-inspired look.
Silver has long been associated with creativity and intuition. In ancient times, artists and calligraphers used metallic inks to signify something special, like wisdom or celebration. Today, silver remains a popular choice for wedding invitations, holiday cards, and any design that calls for a bit of sparkle and sophistication.
Using metallic ink is also a fantastic way to create textures that play with light. Try it on textured paper or mix it with embossing powders for even more dramatic effects. Who knew one little ink pad could pack so much potential?
Our Tests :)
We tried it on a glossy paper envelope (which is non-porous), and to keep the ink from smudging, you’ll need to let it dry a bit longer than you would on regular porous paper. The best option is to stamp on non-porous paper and then leave it undisturbed for a few hours to make sure it dries perfectly. We stamped the envelopes one afternoon and left them until the next day.
FEATURES
Brilliance Starlite Silver Ink Pad for Paper
Ink colour: Silver
Ink size: 9.6x6.4 cm / 3.8x2.5 inches
Pad size: 7.6x4.8 cm / 3x1.9 inches
Solvent-based ink.
Pearlescent
APPLICATIONS
This ink is suitable for printing on porous paper and satin paper. *On satin paper it needs more drying time. In the description section we explain our tests.
Please note that the colour of the ink in the photograph may have a slight tonal variation with respect to the original due to the colour of the different monitors. Read our TIPS section to learn more about this ink.
BITERSWIT GUIDE: USING AND CARING FOR YOUR STAMPS
Here’s your Biterswit guide for taking care of your stamps and inks.
HOW TO USE THE INK?
This ink is perfect for porous papers like regular paper, cardstock, cardboard, and Japanese paper. It takes about 10-15 minutes to fully dry. It can also be used on satin paper, but drying time will be longer and will depend on the surface, material, and humidity.
1. Apply the ink gently—you’ll use less ink and get a better impression. Don't press too hard on the ink pad, as this will saturate the stamp with ink.
2. Do some test prints on paper until you get it just right. Practicing is key!
3.Once you’ve got the hang of it, re-ink your stamp and start stamping on your chosen box, bag, or envelope.
STAMP CARE
In addition to the Biterswit guide, we’ve also got a short video explaining how to store and clean your Biterswit stamps.
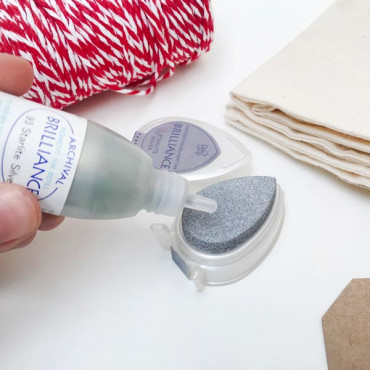
HOW TO REFILL THE INK PAD
Here’s a video showing you how to refill a VersaCraft ink pad, but the process is the same for other pads! All you need is the right ink bottle for your ink pad.
1. Shake the ink bottle (make sure it’s tightly closed if you’ve already opened it).
2. Apply the ink evenly on the pad: left to right, top to bottom, and diagonally. Repeat this process twice.
3. Wait a few minutes for the ink to settle into the pad. If you can refill it the day before using it, even better :)
* TIP: Once you've applied the ink, you can spread it with a plastic spoon or small spatula, gently pressing the pad so the ink soaks in. Then, you can apply more ink if needed.
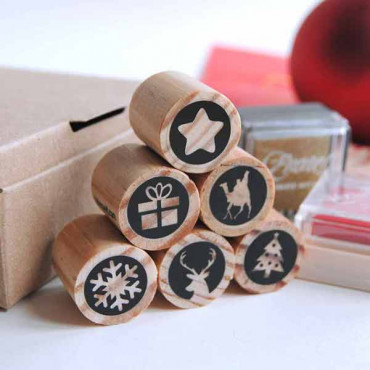
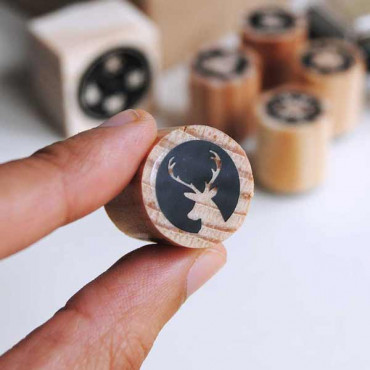
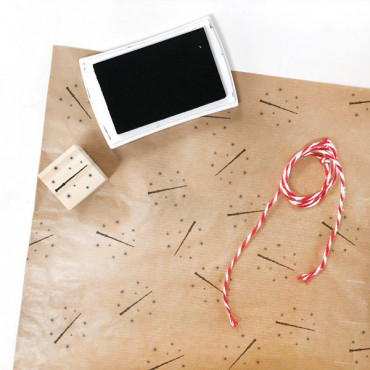
We present the stamp pack of mini Christmas stamps to decorate your gifts, because yesterday we were at the beach and now POW! Now Christmas is here! And in biterswit we have not only made one of our mini rubber stamps to celebrate it, not two, not three... No! We have prepared a pack of 6 mini Christmas stamps to decorate your Christmas gifts, postcards,...
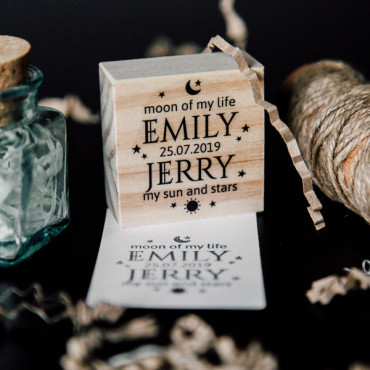
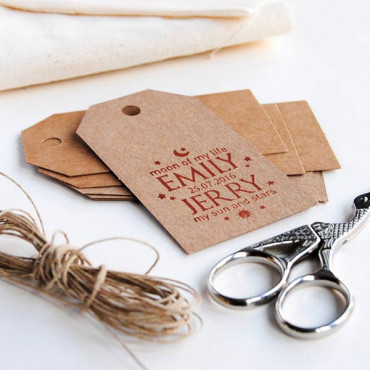
If you want to organize an original and geeky-themed wedding and you are a big Game of Thrones fan, this "Moon of my life, My sun and stars" personalized wedding stamp is perfect for you, because a geeky wedding is always much more fun. Now you can organize a themed wedding remembering one of the best moments of the Dothraki and one of the most emotional...
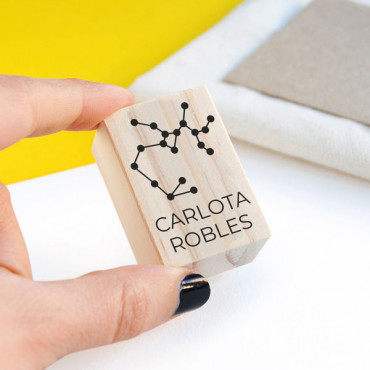
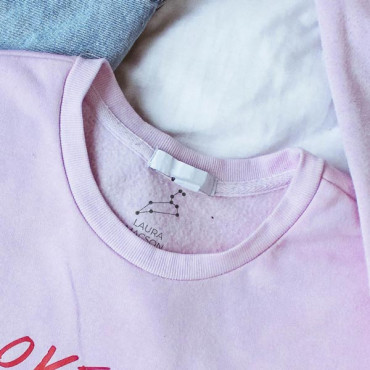
Now you can mark clothes with a stamp with your daughter or son's zodiac constellation. A pretty and minimal stamp that will look perfect on school clothes, shoes, books, and school supplies... In the Personalization section, write the constellation you want, the name, and the color of the inks you want. You will find the options in one of the product...
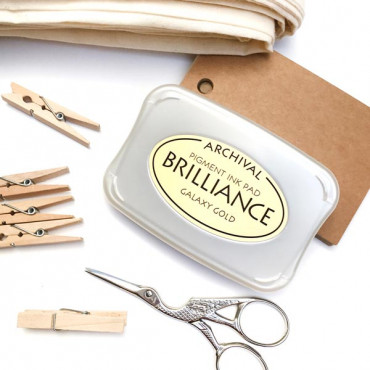
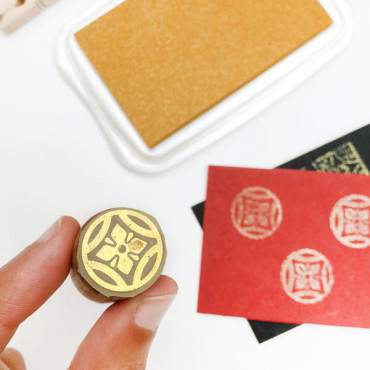
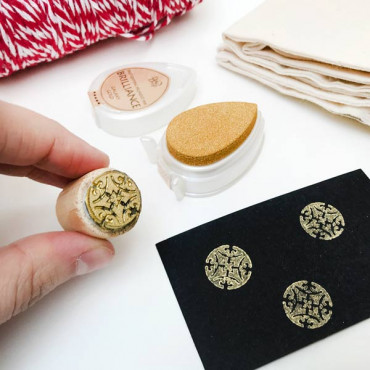
Add a touch of elegance to your scrapbooking, card making, or any paper craft project with the Brilliance Galaxy Gold Stamp Pad. This beautiful ink pad delivers a rich, metallic gold finish that’s perfect for creating stunning designs. Whether you're stamping on white, black, or colored cardstock, the soft, vibrant gold ink creates a smooth, shimmering...
The Brilliance Starlite Silver Mini Ink Pad is the perfect little addition to your crafting toolkit. Its drop-shaped design is not just cute, but super functional, giving you both precision and flexibility when stamping. The shimmering silver ink adds a gorgeous metallic finish to paper, making it ideal for scrapbooking, card-making, and even custom...
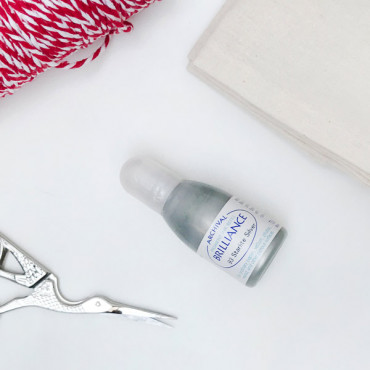
Brilliance Starlite Silver Re-Inker is a must-have for anyone who loves vibrant, shimmering finishes in their paper crafting projects! This re-inker is designed to refresh your Brilliance Starlite Silver ink pads, giving them new life and ensuring your stamps produce rich, long-lasting impressions every time. Whether you're into scrapbooking, card making,...
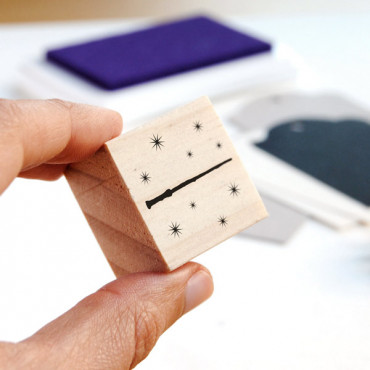
This rubber stamp features a whimsical magic wand, surrounded by tiny twinkling stars. It's perfect for adding a little sparkle to any magical-themed event or DIY project. Whether you're throwing a birthday party with a fairy tale theme or just want to add a touch of magic to your crafting, this stamp is the perfect tool. You can use it to create...
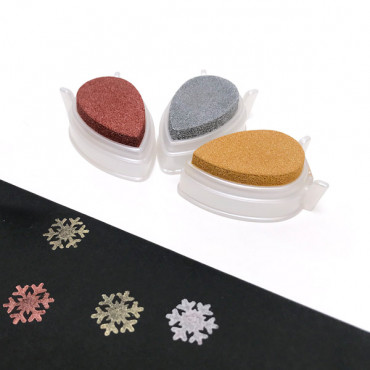
Get ready to add some serious sparkle to your creative projects with this set of 3 mini Brilliance ink pads! Featuring Galaxy Gold, Starlite Silver, and Cosmic Copper, these little beauties are perfect for making your crafts shine like the stars. Whether you’re into scrapbooking, card-making, or journaling, these vibrant metallic inks bring a touch of...