


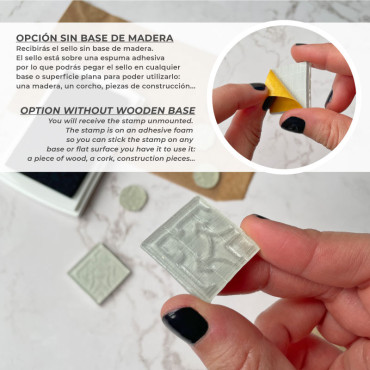
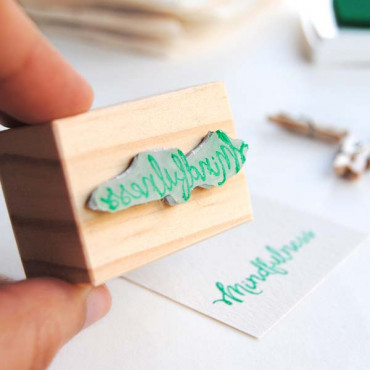
This versatile Minimal Christmas Tree stamp lets you get creative in so many ways. Add a tiny trunk with a pencil or marker to complete the tree, stamp it twice without re-inking for a layered effect, or mix different shades of green ink to create a cozy winter forest. Whether you love a modern, minimal aesthetic or just want an easy way to personalize your holiday projects, this stamp makes crafting effortless and fun!
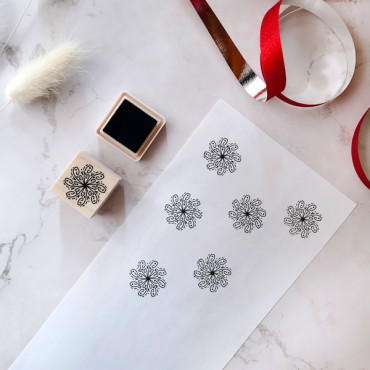
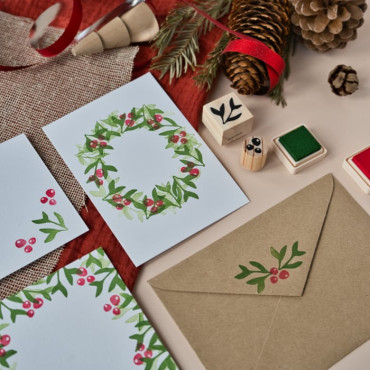
Making the DIY Christmas card in the second image is super easy!
ALL YOU NEED
- White cardstock (we used A6 size / 4x6 inches)
- This Minimal Christmas Tree Stamp
- A brown pencil
- A fine black marker
STEP BY STEP
1. Ink the stamp and press it onto the cardstock twice—without re-inking the second time—for a soft depth effect. Try different shades of green ink for variety.
2. Create a mini forest with multiple trees.
3. Draw a tiny trunk under each tree with a brown pencil.
4. Add your own holiday message!
Scandinavian Christmas decor is all about simplicity and nature—clean lines, soft colors, and organic materials. This minimalist Christmas fir design fits perfectly into that cozy, modern holiday aesthetic.
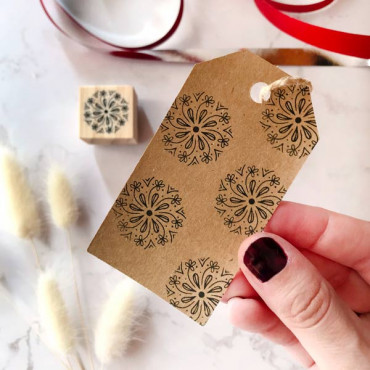
Use this stamp to decorate holiday cards, wrapping paper, gift tags, scrapbook pages, and more. A simple design, endless festive possibilities!
CONTENT
- 1 rubber stamp Minimal Christmas Tree Stamp for Holiday Card making.
* Does NOT include ink. If you need ink, visit our Stamp Inks section.
DETAILS
- Print size: to choose at the dropdown menu
* The size shown is the height of the tree (the longest side of the stamp)
Size in the photos: S size
- Material: Natural pine wood, rubber
Our wooden stamps are handcrafted and mounted on natural hand-sanded pine wood provided by local suppliers. Whenever possible we try to promote the small businesses around us.
The stamp is mounted on a rubber to make it easier for you to stamp it. You can also clean it gently with soapy water. Do not use corrosive materials and try not to touch the wood when you clean it.
In our Stamp Inks section, you’ll find a wide variety of ink colors for different surfaces (we specify the surface type in each product name). Each product includes detailed information and tips to help you get the most out of your ink. We hope this helps!
BITERSWIT GUIDE: STAMP USAGE & CARE
Here’s our Biterswit guide to help you take care of your stamps and inks. Enjoy! ?
HOW TO STAMP? Little tricks :)
1. Start with a little ink. No need to press too hard on the ink pad.
* Sometimes we tend to use too much ink, so it’s best to start with a little bit. Just tap the pad lightly until you get the right amount.
* The amount of ink you need can depend on the surface you're stamping: the more porous and rough the surface, the more ink you'll need.
2. Stamp on a flat surface. Don’t worry if the first impression isn’t perfect — it’s totally normal! New stamps need a little practice. Just have fun and keep testing until you get that perfect print!
WANT TO STAMP ON FABRIC?
If you’re stamping on fabric, go for natural fibers like cotton, linen, and silk. It works great! Just keep in mind that the ink isn’t 100% permanent, so with washing, it’ll fade a bit over time. To make it last longer, just iron the fabric after stamping to really set the ink.
If you want something more durable, we recommend Speedball inks.
STAMP CARE
* Clean your stamps when needed. If you’re using them often and the impressions start getting too ink-heavy, it’s time for a clean! Just don’t scrub too hard or use harsh chemicals.
* Oil-based ink. Inks like Encore are oil-based, and we recommend not overusing them on your stamps because it can damage the material. After using them, clean your stamp by stamping it on paper until it stops leaving marks, and use a cloth or wipe to get rid of any leftover ink. Remember! Never use water to clean stamps with oil-based ink. It reacts with the ink and makes everything sticky (trust us, we know from experience!).
* In addition to the Biterswit guide, we also have a short video where we explain how to store and clean your Biterswit stamps.

With this VersaCraft Real Black ink pad you can print on uncoated paper, wood, and clothing. It is an ideal black ink to create your prints on tote bags, tablecloths, t-shirts... The Versacraft Real Black Ink Pad is a high-quality, water-based ink pad designed for a wide range of crafting and stamping projects. The rich, true black ink produces crisp,...
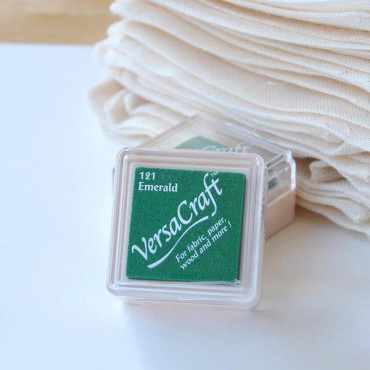
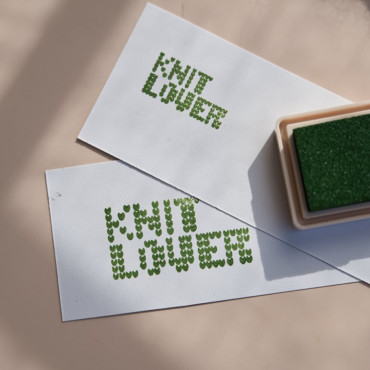
Once you have chosen your perfect stamp, all you need is the ink pad and we have fallen in love with this green color shade. This mini VersaCraft Emerald Green ink pad is suitable for stamping on fabric (natural fibers), non-glossy paper and wood. If you have a brand of natural products, green means nature, harmony, and life... that's why it's perfect for...
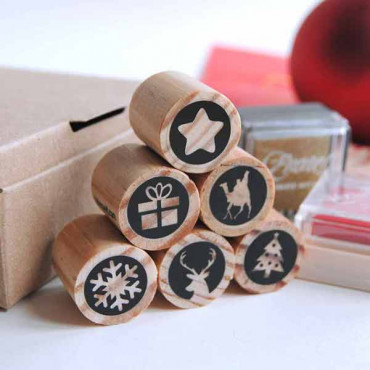
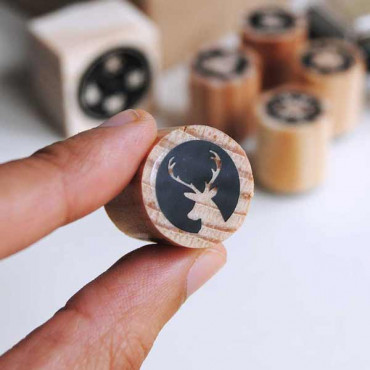
We present the stamp pack of mini Christmas stamps to decorate your gifts, because yesterday we were at the beach and now POW! Now Christmas is here! And in biterswit we have not only made one of our mini rubber stamps to celebrate it, not two, not three... No! We have prepared a pack of 6 mini Christmas stamps to decorate your Christmas gifts, postcards,...
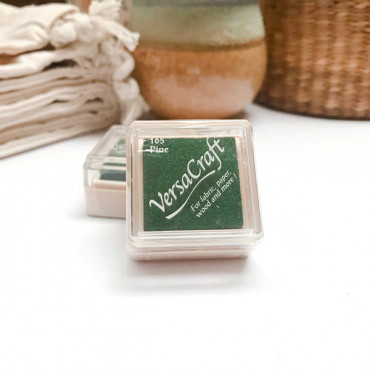
The VersaCraft Pine mini ink pad is your go-to for a rich, natural green that brings a cozy, countryside feel to your crafts. A bit deeper and earthier than VersaCraft Emerald Green, this shade adds a touch of elegant nature to your handmade cards, gift tags, or journaling pages. Whether you're stamping on paper, fabric, or even wood, this ink is made to...
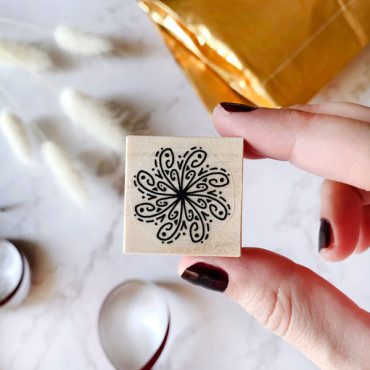
This Mandala rubber stamp features a stunning Nordic snowflake design, perfect for adding a touch of winter magic to your DIY projects. Whether you're decorating Christmas wrapping paper, stamping a timeless print on a notebook cover, or creating a Nordic-style background for scrapbooking, this stamp will help you create something truly special. We’ve...
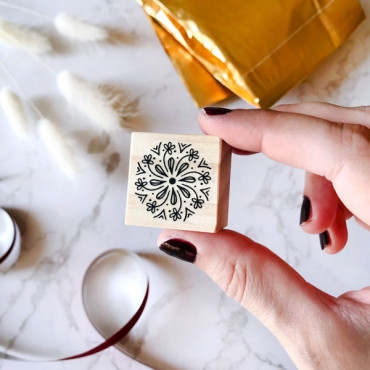
Looking for a stamp that’s both festive and versatile? Meet our Mandala Botanical Snowflake Rubber Stamp—a dreamy blend of delicate snowflakes and mandala-inspired geometry. It’s part of our snowflake stamp collection, designed to bring an artistic touch to your DIY crafts, gift wrapping, and creative projects. The best part? While it’s perfect for...
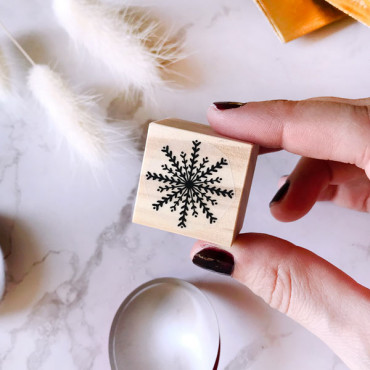
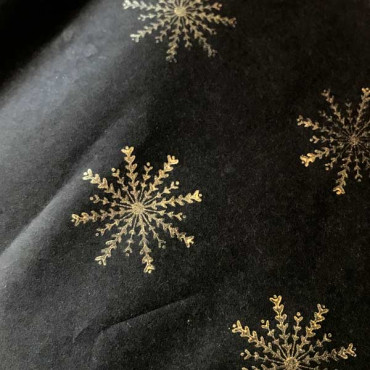
Looking for the perfect stamp to add a little winter magic to your holiday crafts? Our Mandala Snowflake Rubber Stamp is a timeless, elegant design inspired by nature’s most delicate masterpiece. This hand-drawn snowflake is one of the most classic and recognizable patterns, making it a must-have for your Christmas creations! Try stamping it in gold on...


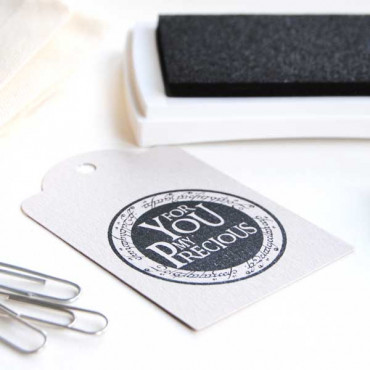
Merry Christmas or Happy Holidays stamp with Scrabble style and available in several languages (Spanish, Catalan, Galician, Basque, English, French and German). If you are looking for it in another language, no problem :) Write us an email at hola@biterswit.com and explain what you are looking for. This stamp is perfect for creating your own stamped...
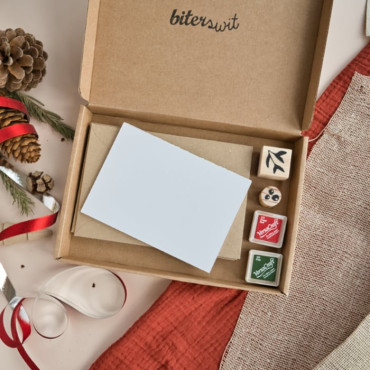
It's here, it's finally here! Mariah is peeking out—or rather, she's coming in fast like a lightning bolt. Christmas has landed, and with it, we’re bringing you this Floral Christmas Holiday card-making stamp set to give your holiday creations a special touch :) This DIY Christmas kit lets you handcraft your own stamped Christmas postcards. It includes...